6 Harley-Davidson Maintenance Essentials: How to Care for Your Motorcycle
Comments Comment
Regular motorcycle maintenance is crucial for ensuring the safety, reliability, and longevity of your Harley-Davidson® motorcycle. With careful attention paid to the right areas, you can catch potential maintenance issues before they become major problems and address them before they compromise your safety or lead to expensive repairs.
Meanwhile, proper motorcycle maintenance can also help you get the most out of your bike’s performance—whether it’s adding torque out of the gate or increasing comfort over the long haul.
Ultimately, it’s about protecting your investment—and not just your financial one. By taking proper care of your bike, you can help ensure a longer-lasting relationship between you, your bike, and the road.
What does proper Harley-Davidson maintenance look like, exactly? It all starts with six essential elements.
- Pre-Ride Inspection
- Motorcycle Oil
- Batteries & Tenders
- Brake Pads
- Tires
- Surface Protection & Cleaning
In the guide below, we deep dive into each of these topics so you can understand the essentials of motorcycle maintenance.
Six Harley-Davidson Maintenance Essentials
1. Pre-Ride Inspection
Simply taking a walk around your bike before you take it for a ride can go a long way toward protecting your bike and keeping you safe, too. Take a few minutes to make sure your bike is roadworthy.
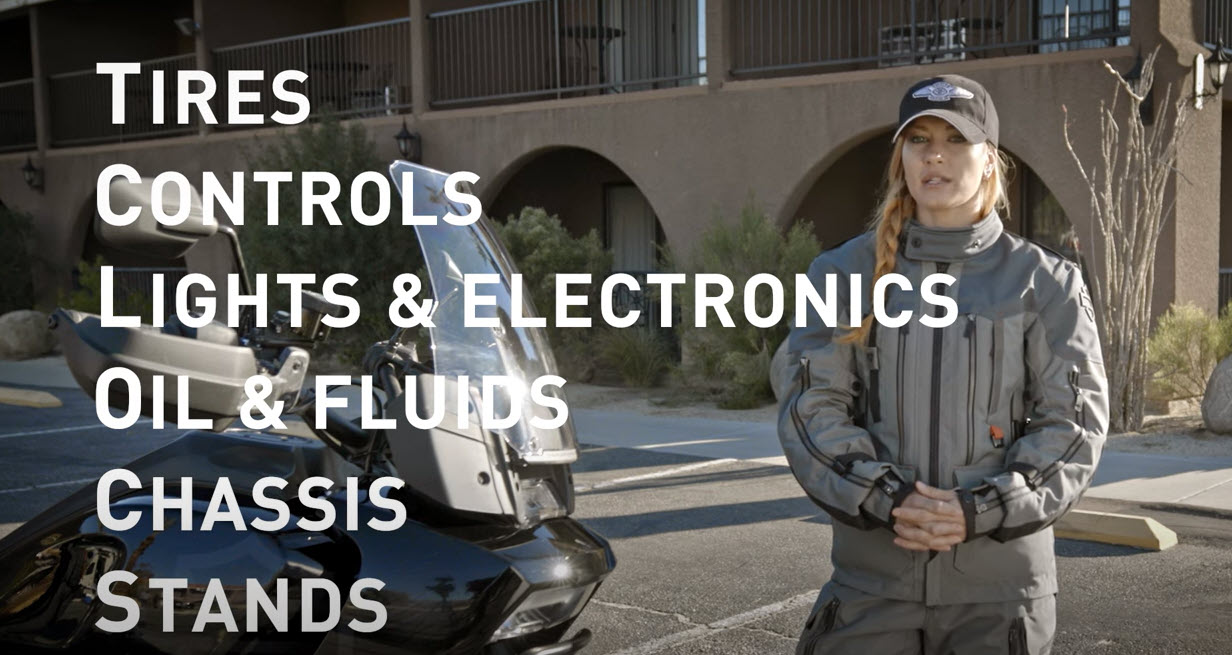
To help you make sure all your bases are covered, we have an acronym we’re fond of: T-CLOCS™. Short for Tires, Wheels & Brakes; Controls; Lights; Oil & Fluids; Chassis; and Side Stand, it’s a tool to help you remember a simple but thorough pre-ride inspection plan created by the internationally recognized Motorcycle Safety Foundation. These are also the same steps that Harley-Davidson Service Consultants follow when a bike comes in for a service visit.
Remembering this acronym can guide you through your walk-around inspection. Here’s what you should look for as you check out your bike:
T = Tires, Wheels & Brakes
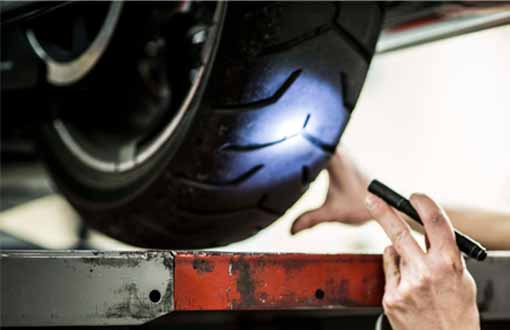
First, make sure your motorcycle tires are properly inflated. Refer to your Owner’s Manual for load ratings and inflation info, then use a tire gauge to check the numbers. Improperly maintained tires not only increase tire wear but can create unsafe conditions for riding. Also, check the tires’ tread depth, and inspect them for signs of wear, bulging, or embedded objects.
Take a good look at the wheels: check for cracks in cast wheels or bent spokes. Make sure the rims retain their shape.
Finally, apply each of the brakes, one at a time, to make sure they’re functioning properly.
C = Controls
Take a look at your controls: Check all of the levers and pedals for damaged parts or loose mounts. Make sure that the cables are in good condition, and check that the throttle is able to move freely.
L = Lights & Electric
Look over your lighting equipment. Take a good look at the headlamp’s high- and low-beam operation. Check the taillight to make sure it functions properly with your brakes. Test your turn signals and check the mirrors. Lastly, make sure the wiring doesn’t interfere with steering and that none of it is frayed or pinched.
O = Oil & Fluids
Check the bike’s fluid levels and make certain there are no leaks.
C = Chassis
For the chassis, check the frame for cracks, inspect all of your accessory mounts, check handlebar movement for full travel, and check the bike’s chain or belt for full tension. You should also check the suspension and adjust it for passenger load. Your Owner’s Manual will list the appropriate suspension settings.
S = Side Stand
This is a quick one: Simply check the tension spring on the jiffy stand to make sure it will stay up when riding.
Initially, this may seem like a long list, but soon you’ll find that keeping track of these items will become second nature, like a pilot doing a preflight inspection.

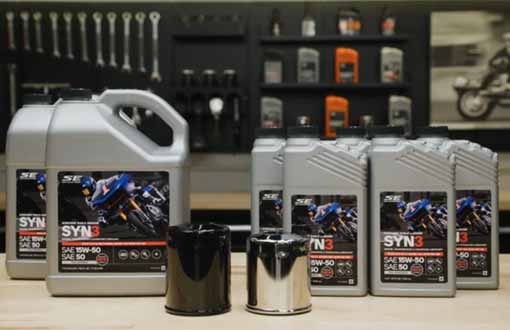
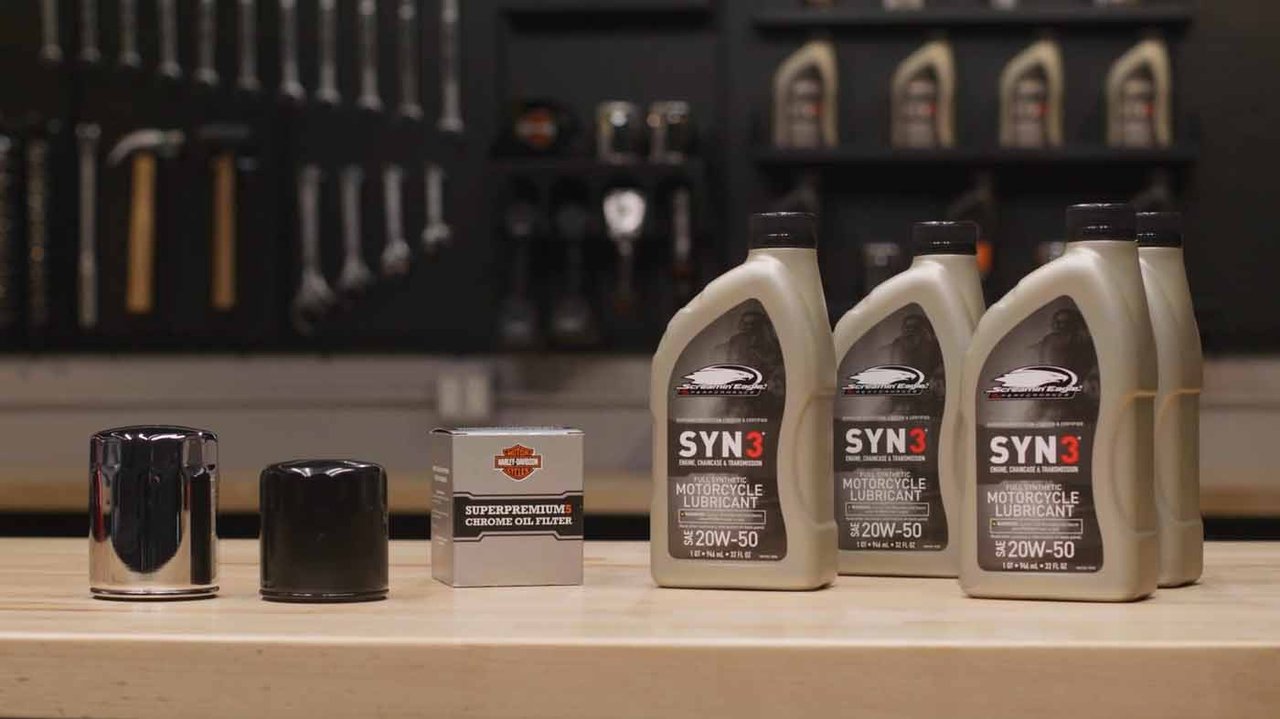
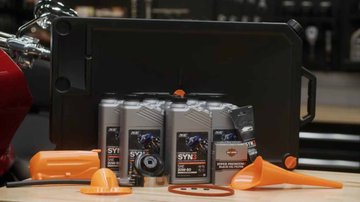
2. Motorcycle Oil
Oil is one of the most important products ever added to a motorcycle.
Controlling the quality of what is put into the engine is about as basic, and as important, as it gets for motorcycle maintenance. That’s why Harley-Davidson develops its own oil and lubricants, and it’s why we keep improving them.
Aside from ensuring that your bike only runs with the highest-quality inside, performing oil changes at regular intervals is essential to boosting the performance of your bike and preventing engine issues.
Motorcycle oil change kits provide you with everything you need to perform an engine oil and filter change. We recommend changing your oil and filter at the first 1,000-mile service interval, and then at every 5,000-mile interval after that. Of course, if you ride especially hard, under dusty conditions, or in cold weather, your oil and filter should be changed more frequently. Lastly, you should always change your oil and filter prior to any winter storage—or any other periods of extended storage.
Want to learn more about the importance and contents of motorcycle oil? Check out our complete guide to motorcycle oil.
Learn about H-D Motorcycle Oil CHange Kits


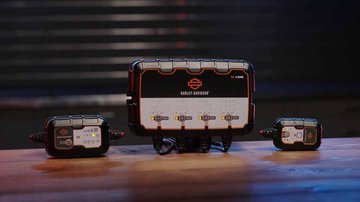
3. Batteries & Tenders
Batteries may not be glamorous, but they are a critical component of any motorcycle. In fact, they’re arguably the most used and often least serviced piece of equipment on a bike.
The theory you sometimes hear that all batteries are the same couldn’t be further from the truth. At Harley-Davidson, our batteries are designed and built specifically to meet the Motor Company’s exacting performance requirements and they’re created to function as an integral component of our electrical systems.
But ensuring longevity and optimal performance comes down to more than choosing the best battery for your bike. Use these tips to maintain your battery:
- Maintain your battery’s charge: Make sure the battery is charged to its full capacity. You can help maintain that charge by riding your bike regularly and installing a battery tender can extend its life for years. Simply plugging a tender in between rides and when the bike is in storage keeps the battery charged and ready to go. Harley-Davidson tenders are designed to the correct battery charging algorithm and will not overcharge the battery.
- Check the terminals and inspect regularly: Regularly check the battery terminals for any signs of corrosion or damage. Use a wire brush or battery terminal cleaner to remove any buildup. You should also check the battery for any signs of damage, leaks, or cracks. If you notice any issues, consider having it inspected by a professional.
- Keep it clean: Keep your battery clean and dry to avoid moisture or dirt buildup. Wipe the battery with a clean, dry cloth.
Meanwhile, if you do need to work with your battery, don’t forget to exercise caution. Always wear eye protection. Keep any sparks, flames, and cigarettes away from batteries at all times. And never store a battery in a sealed container—it’s important to always allow for proper ventilation.
Learn about H-D Motorcycle Battery Chargers

4. Brake Pads
When it comes to safety, brake pads are one of the most important items on your motorcycle. For your safety, it’s critical to regularly inspect your brake pads, along with brake discs and fluid levels.
We typically recommend inspecting pads every 2,500 miles. However, if you ride under adverse conditions, you should inspect your brake pads more frequently—at every 1,000 miles or less. In the meantime, keep your brake system clean and clear of any dirt or debris. Use a suitable brake cleaner and a clean rag to wipe down brake components during regular maintenance.
It’s also crucial to use brake pads of the highest quality. You may think that when you’ve seen one brake pad, you’ve seen them all, but that’s certainly not the case. Harley-Davidson® brake pads are developed specifically to provide optimum compatibility and performance with the complete Harley-Davidson brake system. Stopping power, control, durability, and quiet operation are our highest priorities. And the Motor Company’s rigorous testing process ensures maximum performance and durability.
5. Tires
The two slender torus’ rotating beneath a rider’s and passenger’s ride are designed to take a lot of punishment, but because so much depends on them, they are among the most important parts of the bike to maintain.
Wear occurs more rapidly on motorcycle tires than it does on auto or truck tires because the tire patch, the area that comes into contact with the road as you ride, is much smaller than those found on four-wheeled vehicles. For stress-free riding, it’s of critical importance to monitor tire wear regularly.
Tire wear depends on:
- Proper inflation – while key to proper motorcycle performance, this helps minimize tire wear
- How aggressively you ride – it stands to reason that pushing the bike means added wear and tear on the tires
- Road surface – the gentler the surface, the longer the tires will remain roadworthy
- How often your bike is ridden two-up – the more weight put on the tires, the more wear you’re bound to see
- Tire compounds – the chemical makeup of tires also impacts the degree of tire wear; sport tires are softer and stickier than types of tires, resulting in more rapid wear
- Tire condition – check tires often for signs of tread wear, cracking, or bulging due to incorrect placement which can greatly impact tire lifespan
During riding season, it’s a good idea to check tire pressure before each ride. If the bike feels heavy in front or is hard to steer, it may be an indication that tire pressure is low.
Use a tire gauge to check for tread wear. Most motorcycle tires are ready for replacement before reaching the minimum 1/32” (.8mm) tread depth or wear bar indicators. Motorcycle tires also tend to wear in irregular patterns.
Want to learn more about one of the most critical components of any motorcycle? Check out our complete guide to motorcycle tires
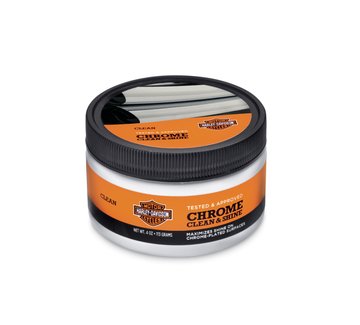
6. Surface Protection and Cleaning
To keep your bike looking every bit as beautiful as the day you took it home—and protect it over the long haul—regular cleanings should be a mainstay of your motorcycle maintenance. Quick wipe-downs after a ride can help, but to protect and restore that like-new shine of your bike’s surface, you should frequently give your ride a full wash and detail.
To get started washing your bike’s surface, we recommend having these essential supplies on hand:
Learn about H-D Motorcycle Cleaning Supplies
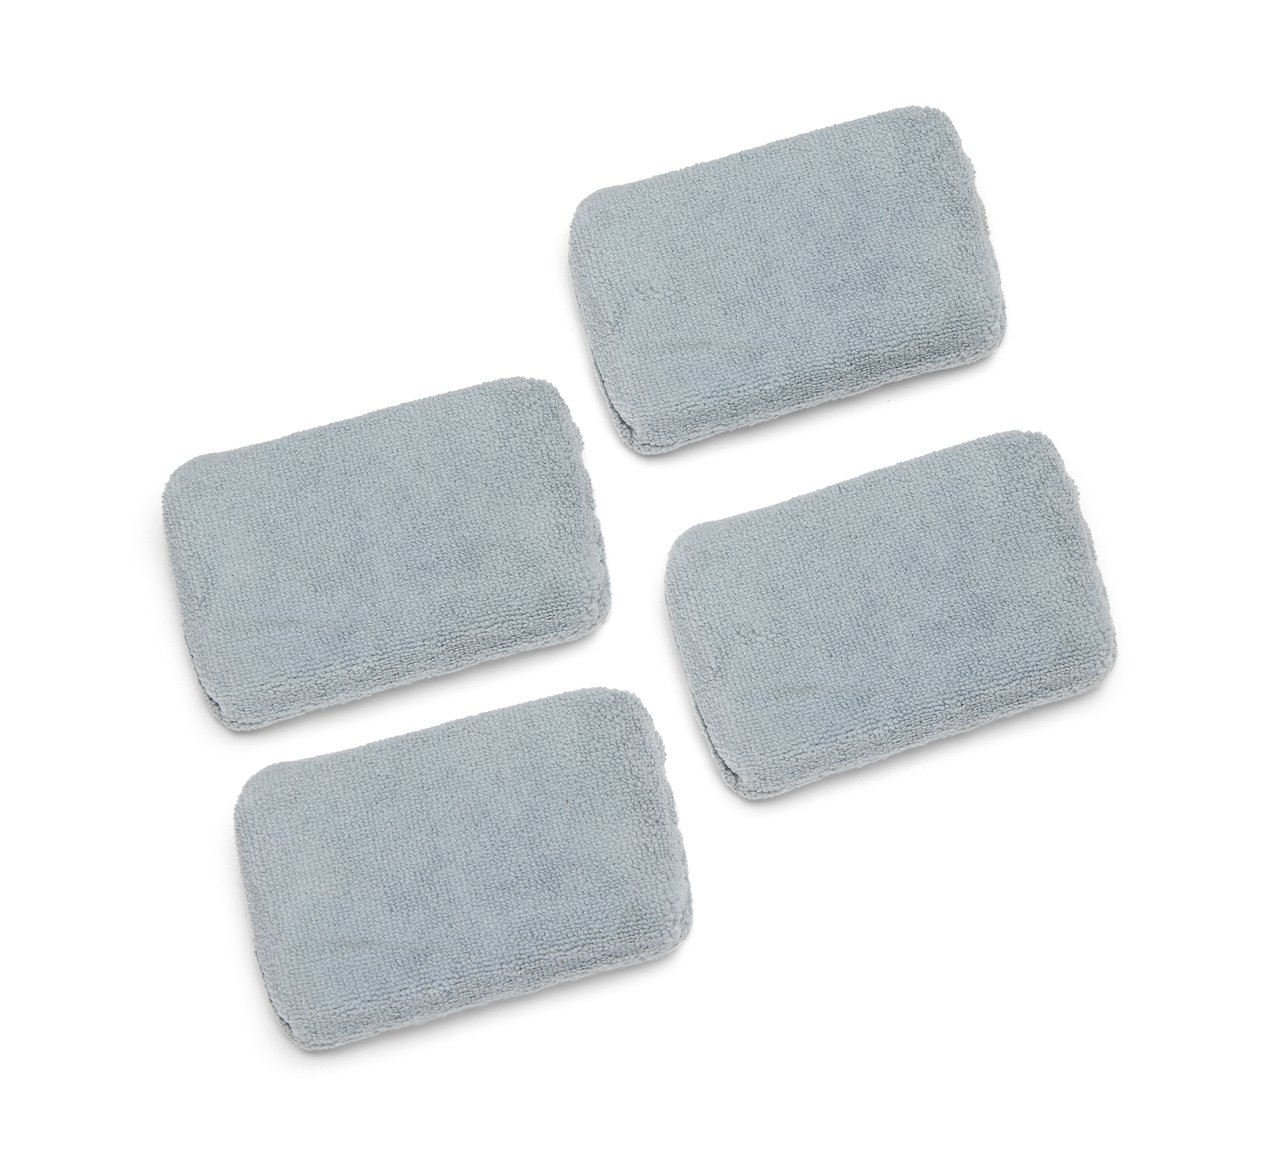


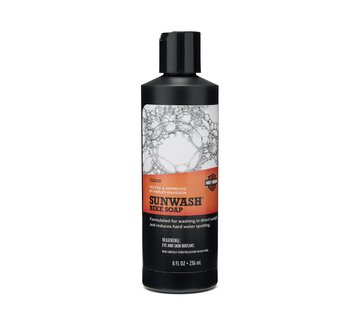
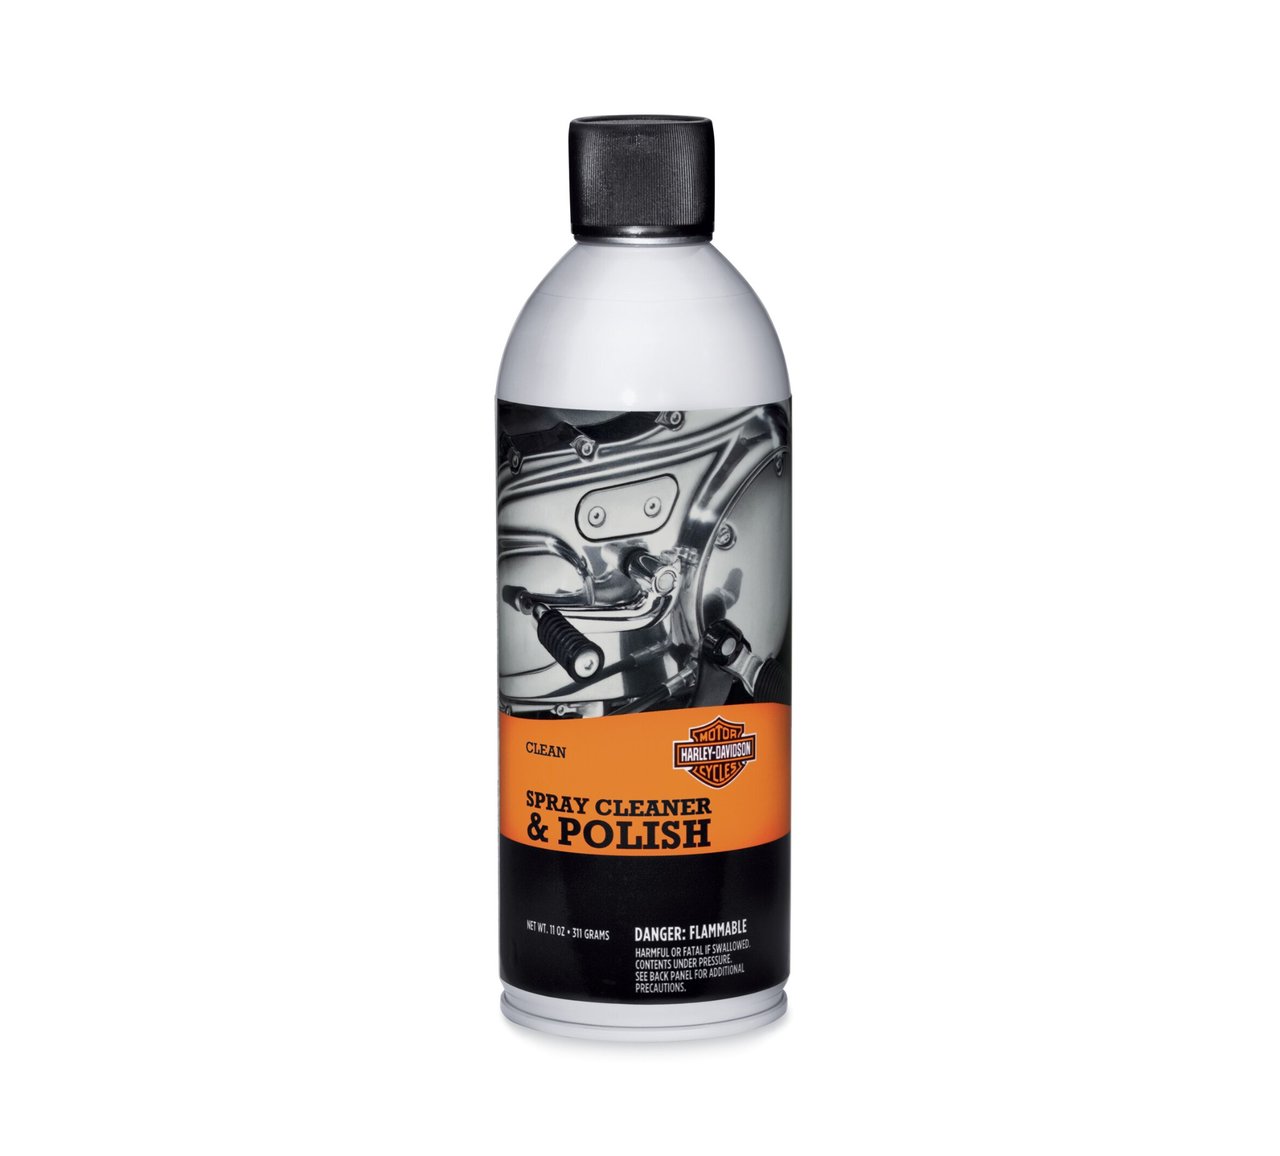

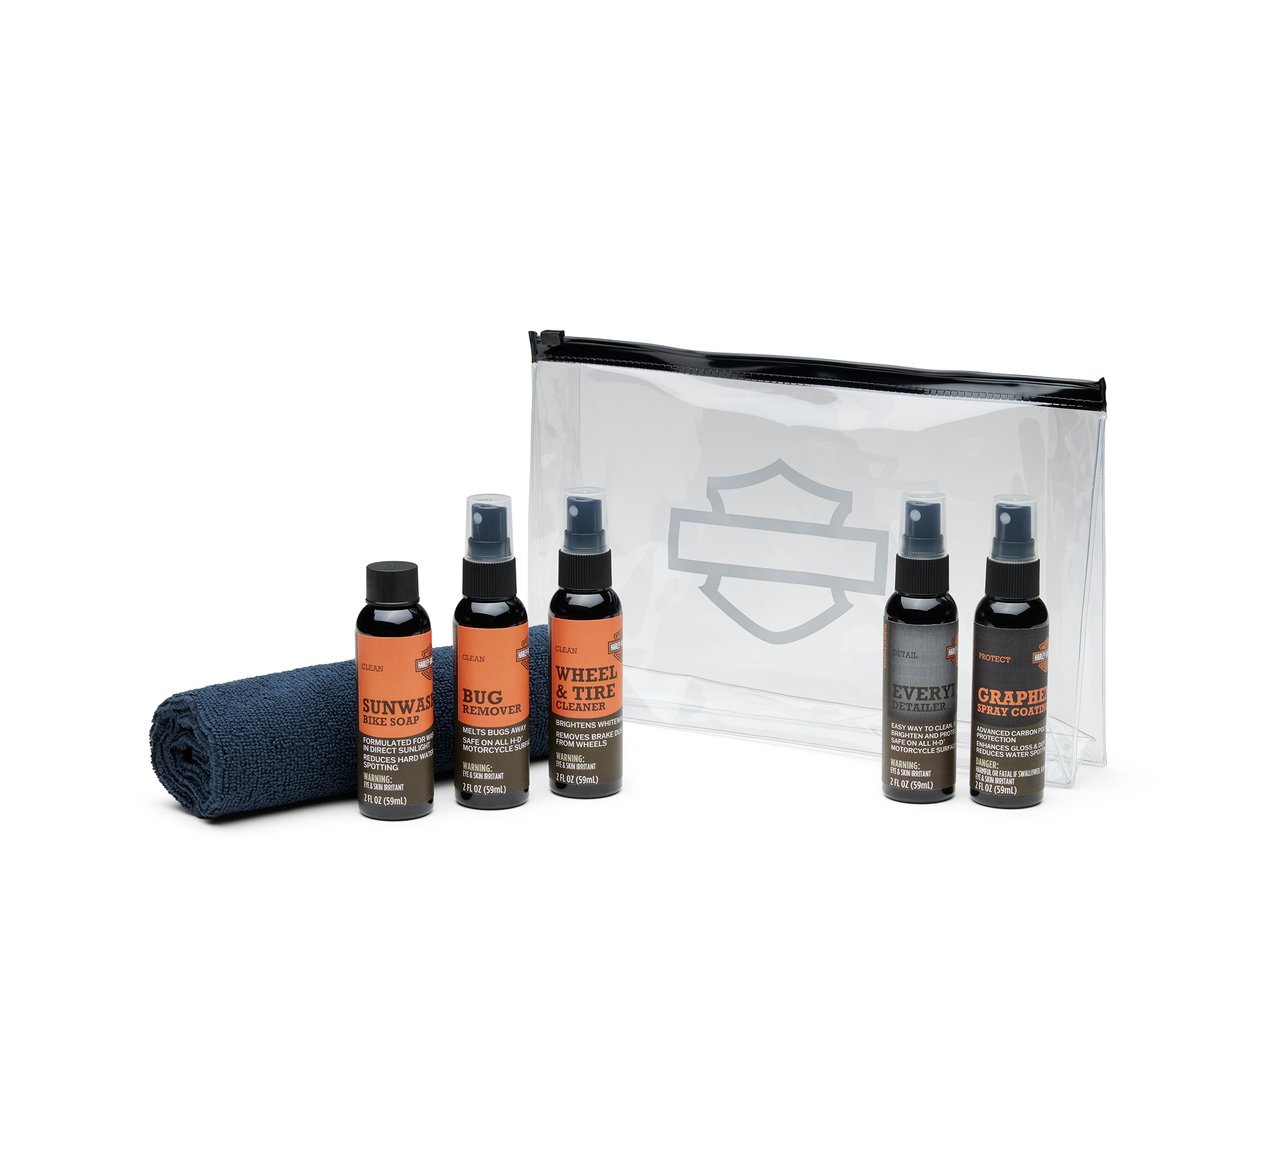


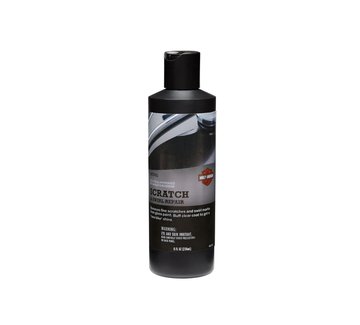
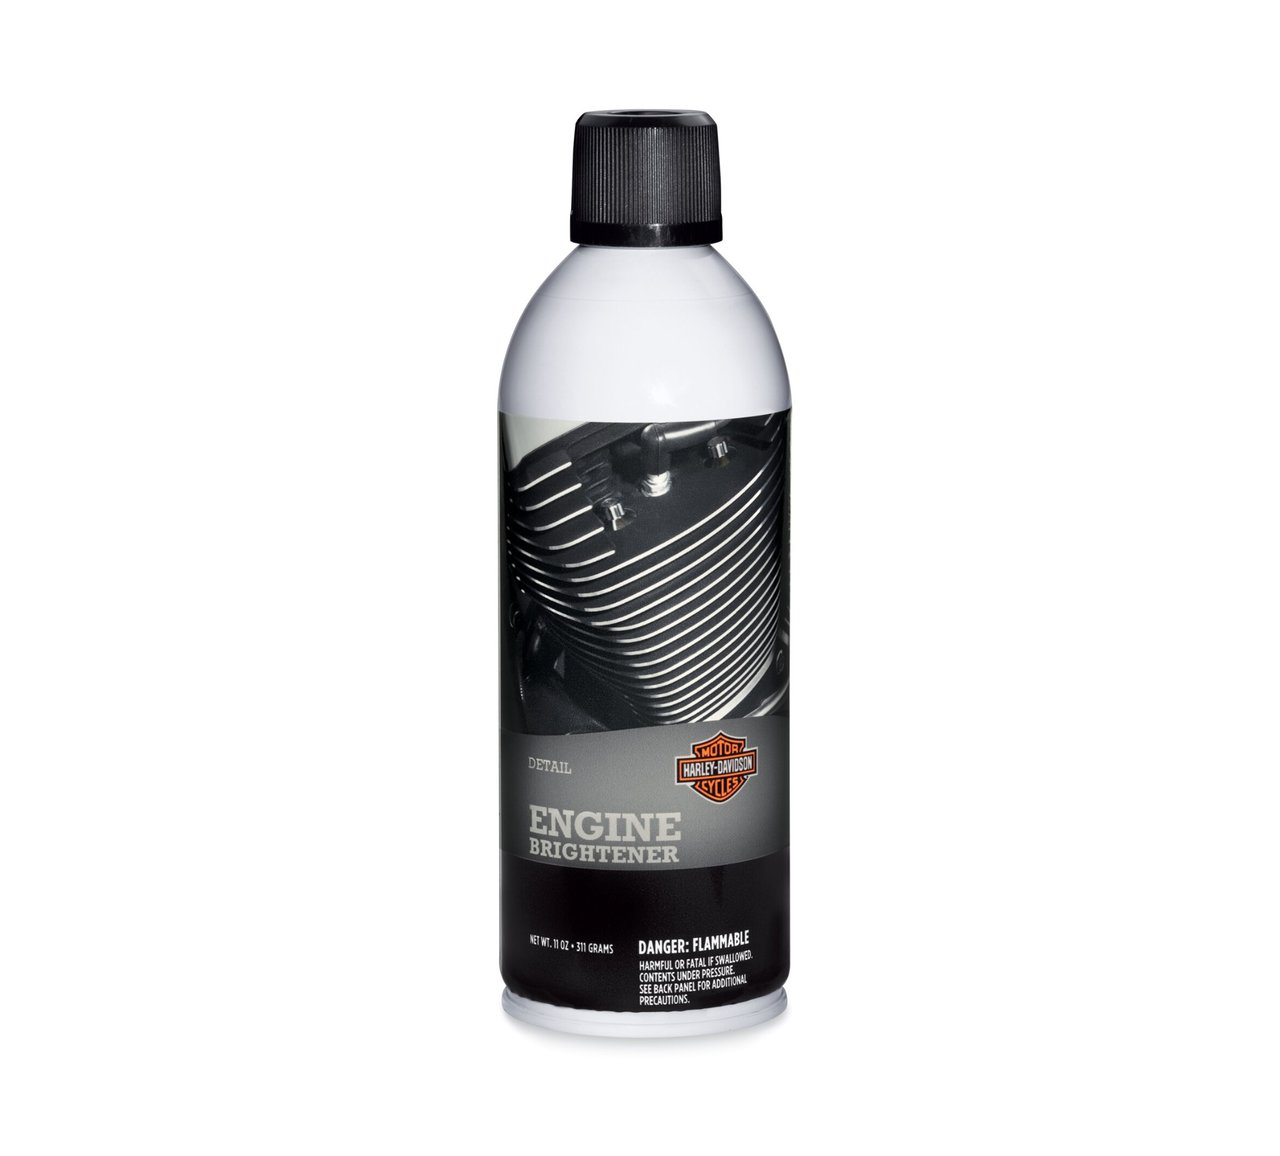


Popular H-D Motorcycle Cleaning Supplies
Of course, you can always be much more thorough with your cleaning. To learn more about detailing your bike and to dig deeper into the washing process, check out our guide on how to wash and detail a motorcycle.
And to make the most out of your time on the road, explore all of our motorcycle maintenance products or find the solutions you need to maximize performance and protect your investment at your local Harley-Davidson® dealer.