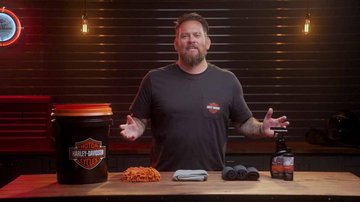
How to Wash Your Motorcycle
Comments CommentSure, you love that you can ride your bike basically anywhere. But no matter where you take it, the wear and tear your motorcycle takes from the open road can add up in a hurry. Between all the dust, dirt, and bugs, plus salt, asphalt, and oil, it doesn’t take too long before a motorcycle requires thorough washing—not just to look good as new again, but to be sure it can keep running like the same bike you bought, too.
The art of motorcycle cleaning has many practitioners, and not all of them get it quite right. However, use this guide to the best way to clean a motorcycle and you’ll be an old pro in no time. Best of all, your bike will thank you for it.
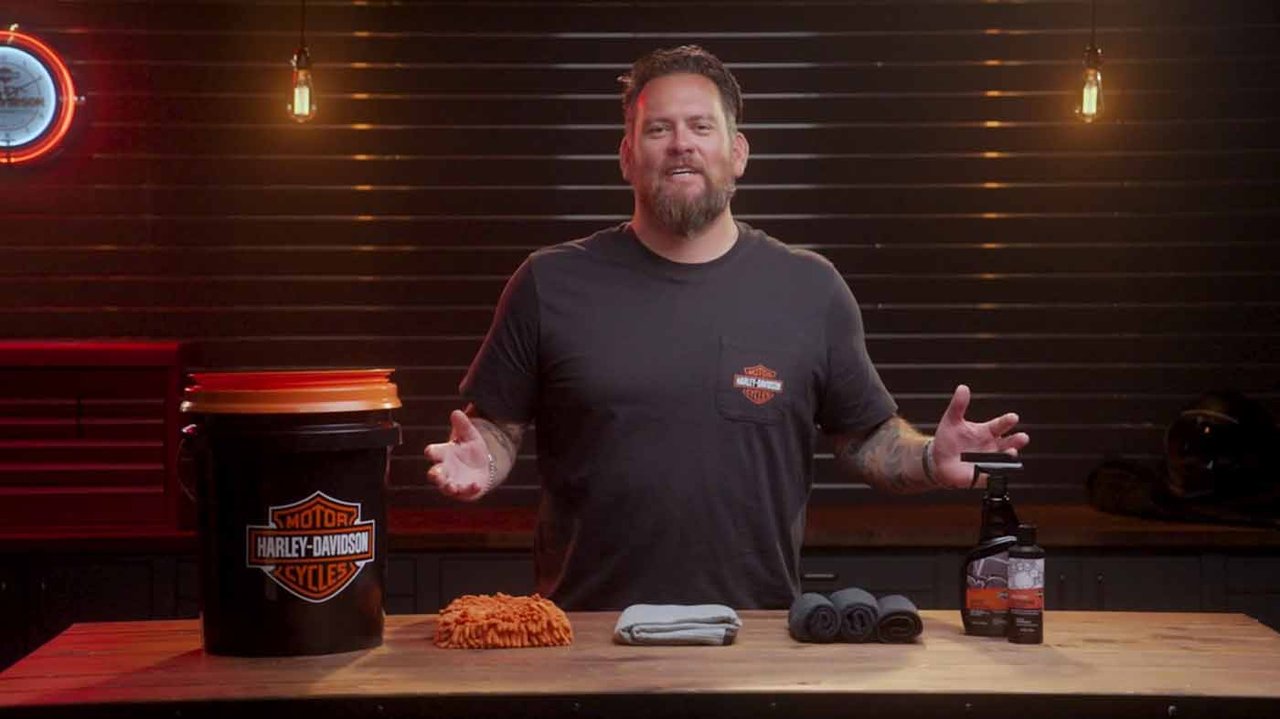


HOW TO CLEAN YOUR MOTORCYCLE IN 7 STEPS
1. Prep Your Bike and Your Workspace
With everything you need at the ready, it’s time to get started cleaning your motorcycle. However, sometimes it’s important to begin washing your bike by waiting: if you’ve recently gone for a ride and your engine is still warm, let it cool down before you grab the hose. Shocking a warm engine with cold water could cause damage. Plus, cold water that evaporates after hitting hot metal can leave water spots.
To ready your bike for a cleaning, you’ll also want to plug all exhaust holes with a rag, secure all wires and electronics, and remove any accessories like saddle bags and put them on a saddle bag storage stand.
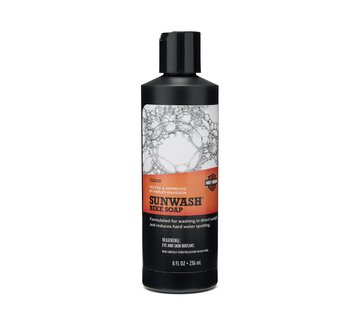
Move the bike to a nice shady area, out of direct sunlight. The warmth of the sun can cause your soap to dry up faster, increasing the risk of streaking and water spots. Of course, if you use our Sunwash Soap, there’s no need to worry. This revolutionary motorcycle cleaner lets riders wash their bike wherever they want to thanks to a uniquely formulated sheeting action that minimizes hard water spots and rinses clean even on hot days in the sun.
You’ll need to prep yourself, too: Remove any jewelry, watches, or large belt buckles that might get caught or scratch the motorcycle as you work. And, lastly, be sure that you have read the labels and instructions on all the products you intend to use while washing your motorcycle. Follow the exact instructions on each product. The Harley surface care team has tested all its products to determine the best means of utilizing them.
2. Start with a Rinse
Kick off the motorcycle cleaning process by spraying your bike with cool water, from the bottom up. For the most part, you should avoid using a high-pressure spray—because while your bike might be powerful, some of its parts can be quite sensitive. A fireman-style hose nozzle can help you more easily maintain the right type of flow.
Before moving on to the top of your bike, focus on getting rid of the dirt, brake dust, and road grime that quickly builds on tires and wheels. When your wheels are particularly grimy, you can use a wheel and tire spray, along with a wheel and spoke brush, at this stage of the cleaning to revive their stock shine.
3. Give the Bike a Scrub
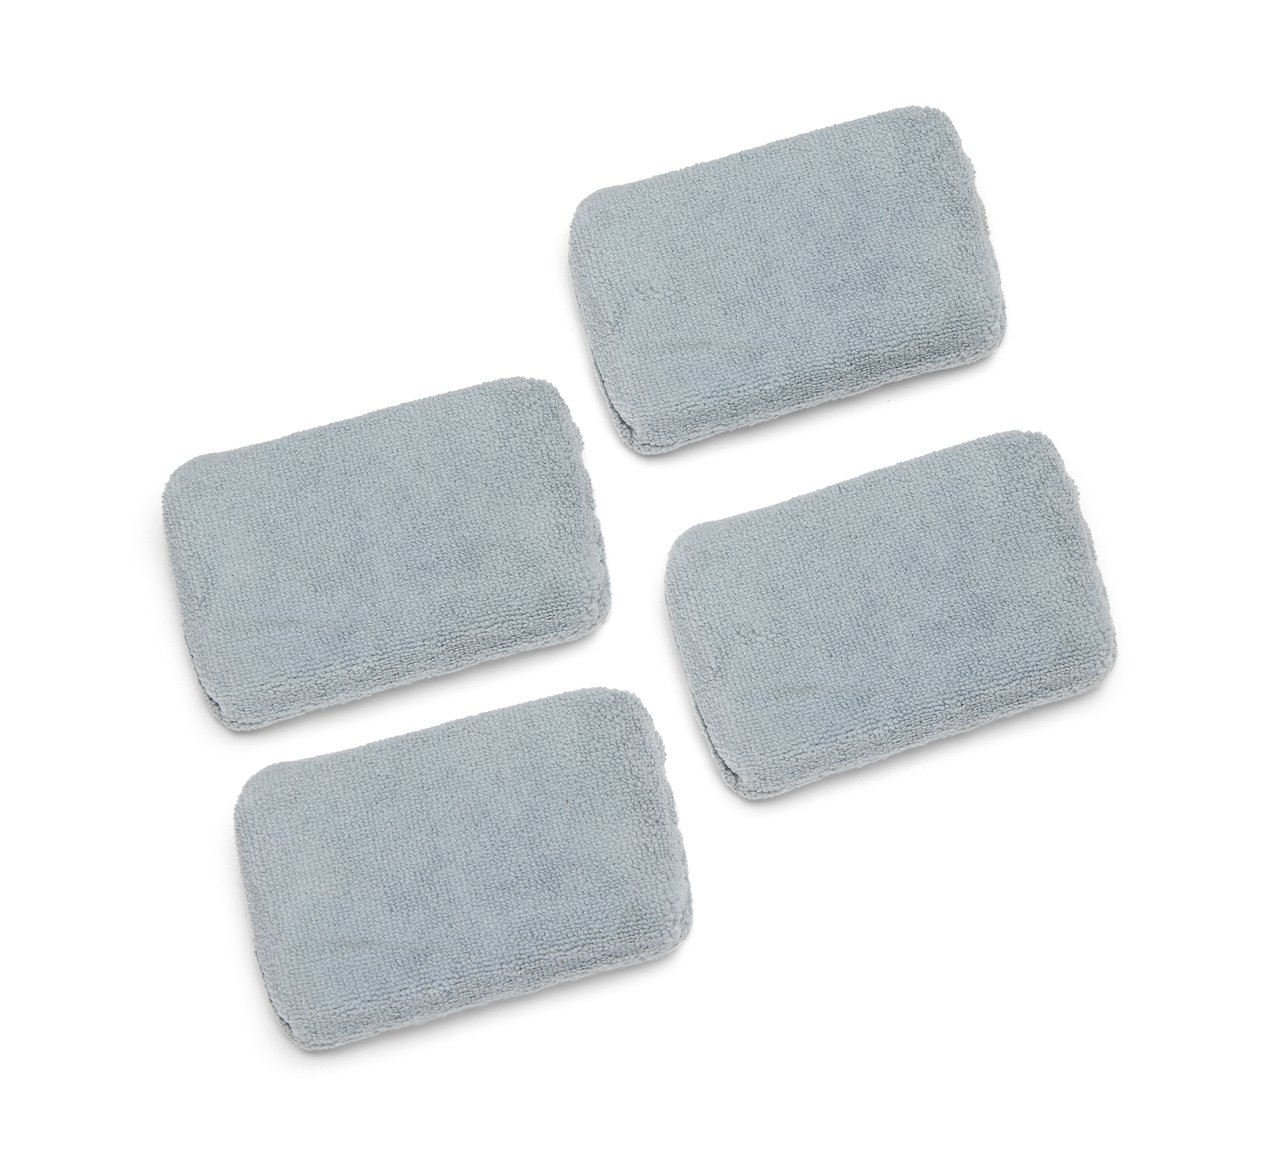
Once your wheels are cleaned up and your bike is wet, it’s time to suds it up. Using a wash mitt, gently scrub the bike with soap. As you do so, regularly squeeze out and remove dirt particles from the mitt to avoid scratching your bike’s finish. You’ll also want to scrub the bike in straight lines rather than circles to achieve a smooth, even shine and avoid unsightly streaks.
4. Give Special Attention to the Tough Spots
As you scrub, you may come across areas of your bike that need extra attention. Be sure not to buff or scrub sensitive denim paint to the point of creating a shiny spot, though. You can zero in on all the nooks and crannies of your bike’s chrome and engine fins with a stiffer brush. Meanwhile, thanks to natural acids in their systems, baked-on bugs can leave nasty stains all over your bike—and even do serious damage to your finish if they’re not dealt with. If you’re unable to take care of them with soap and water, using a bug remover spray and sponge after your bike has dried can help you get rid of them without scratching the surface beneath.
After you’ve soaped and scrubbed your whole bike, rinse the bike from the top down to ensure that all loose dirt and grime are washed away.
5. Dry Your Motorcycle
To dry your bike, you have a few options. Machine-washable drying towels will do the trick with minimal streaking. However, to save time and maximize drying, an electric option is best. Some riders turn to their leaf blower or compressed air kit, but sometimes these tools’ airstreams are too wide or too concentrated, respectively, to do an ideal job. A versatile, pro-style dryer like the HOG® Blaster can do the job in just minutes, with diffuser attachments that allow you to access hard-to-reach spots.
6. Take Care of the Details
When it comes to achieving a professional-quality cleaning with that original, sales-floor shine, the devil is truly in the detailing. Each part of your bike can benefit from a little extra TLC:
- Painted Parts: Use a clean, microfiber detailing cloth to apply a thin even coat of polish and sealant to all painted surfaces. To finish, simply wipe each surface clean with a separate cloth to reveal a stunning high shine.
- Chrome and Aluminum: Apply a dab of chrome cleaner to all chrome-plated with a soft cloth. Many chrome cleaners can also be used on brushed aluminum and stainless-steel fixtures.
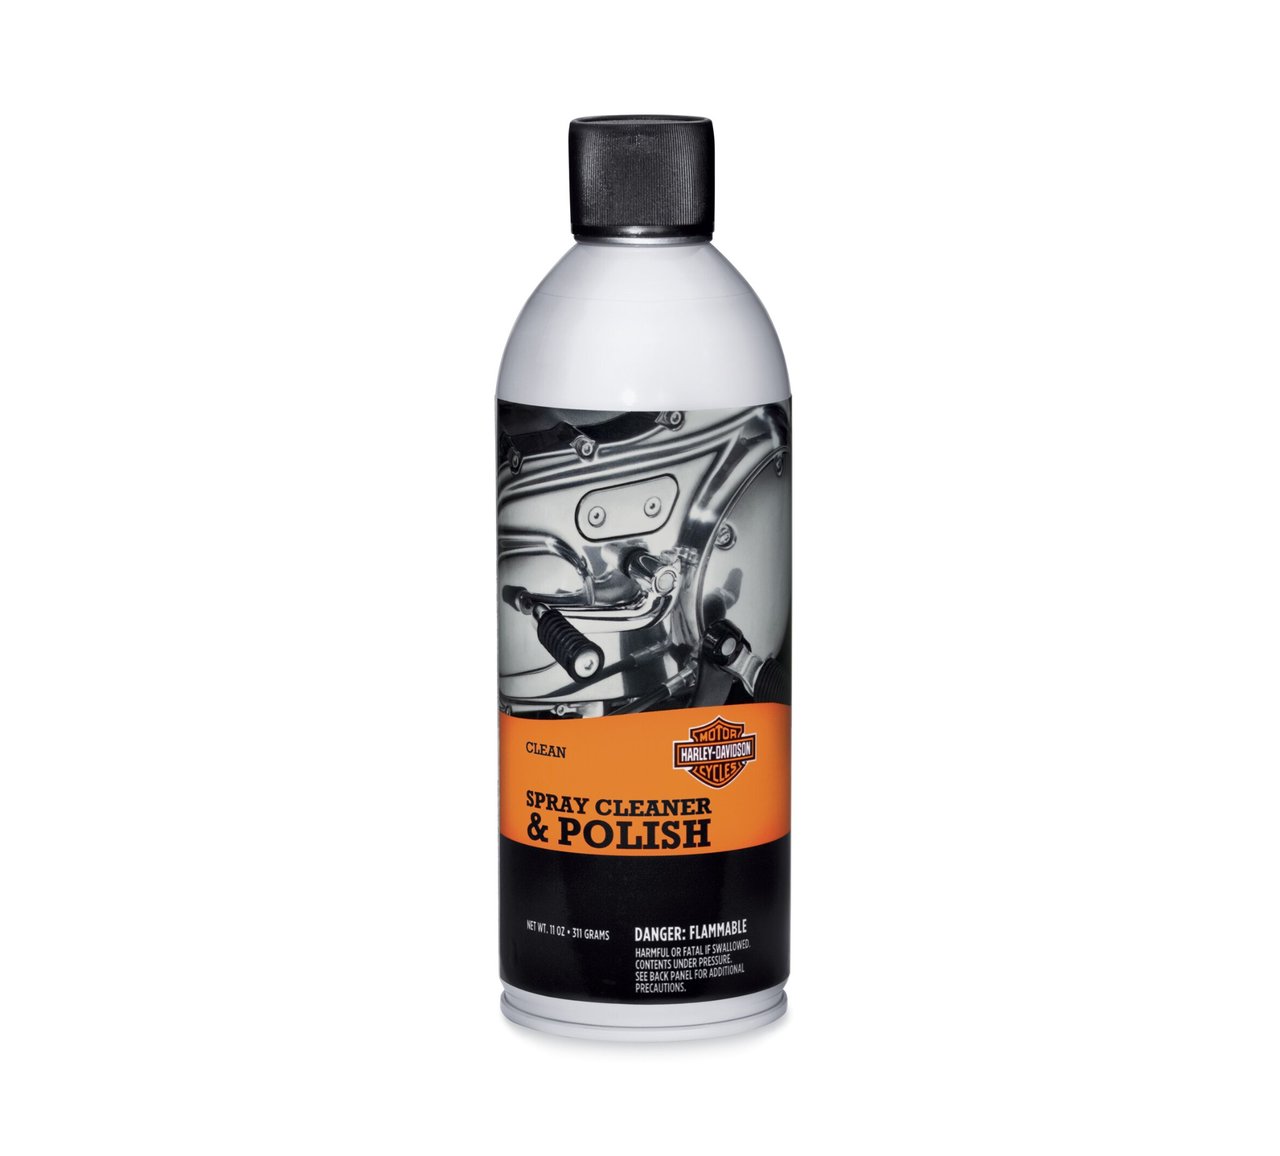
- Glass and Plastic: Use windshield wipes and/or a multi-surface cleaner and polish spray to get rid of grime, dirt, and bugs on your windshield and dash. (Specialized inner fairing cleaners are also available to revive their original looks.)
- Leather: Finish up your detailing by putting some shine back in your seat and saddlebags—and protecting them, too. Buffing a leather rejuvenator into your seat with a soft cloth will have your leather looking like new. Then, adding a leather protectant will help guard against weather, as well as the usual wear and tear.
- Denim Paint: Easily detail denim paint with a specially formulated denim paint cleaner. Simply spray surfaces and gently wipe away oils, fingerprint, and dust—no buffing required. If your denim paint surfaces are more heavily soiled, simply hit them with soap and water before detailing.
NOTE: While our Sunwash® Soap can be used in the sun, detailing should be done out of the direct sun and only on a cooled-down bike. When surfaces are not cool to the touch, a swipe of the towel might leave swirl marks in the coat. Plus, at higher temperatures, detailing chemicals can “flash off” and leave undiluted chemicals that may worsen swirling effects.
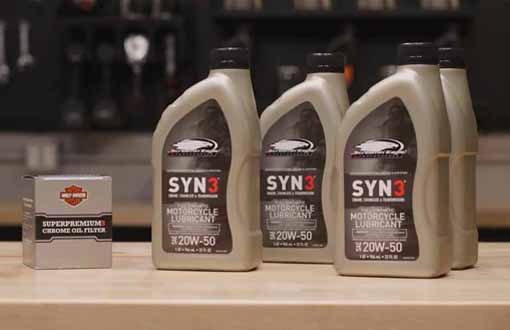
7. Re-Lube Your Chain
With your bike looking great, you need to make sure it’s ready to run great, too. Soap and water can remove the lubricant from your motorcycle’s chain. So, wrap things up by applying a new coat of your chain lube of choice—and ensure a smooth ride the next time you hit the road.
With a properly cleaned motorcycle, you won’t just turn heads as you head out on a ride. You’ll also help protect your bike from unnecessary wear and potential damage.
Sometimes, you might need to do a quick wash while you’re already out on the road. For that, you only need to turn to Quick Wash, an easy-to-use, all-over bike cleaner that’s safe for use on all surfaces and won’t strip wax, corrode fasteners or spokes, or stain leather and vinyl. For a speedy wash on the go, simply spray and rinse clean.
Now that you’ve learned how to wash your motorcycle, you have the tools and knowledge you need to get your bike in good condition in no time. Remember, however, this is just an outer cleanse. If you want your motorcycle to be in top shape it’s probably best to get it serviced professionally at your nearest local Harley-Davidson® dealer.