HOW-TO GUIDES
How to Shift Gears on a Motorcycle
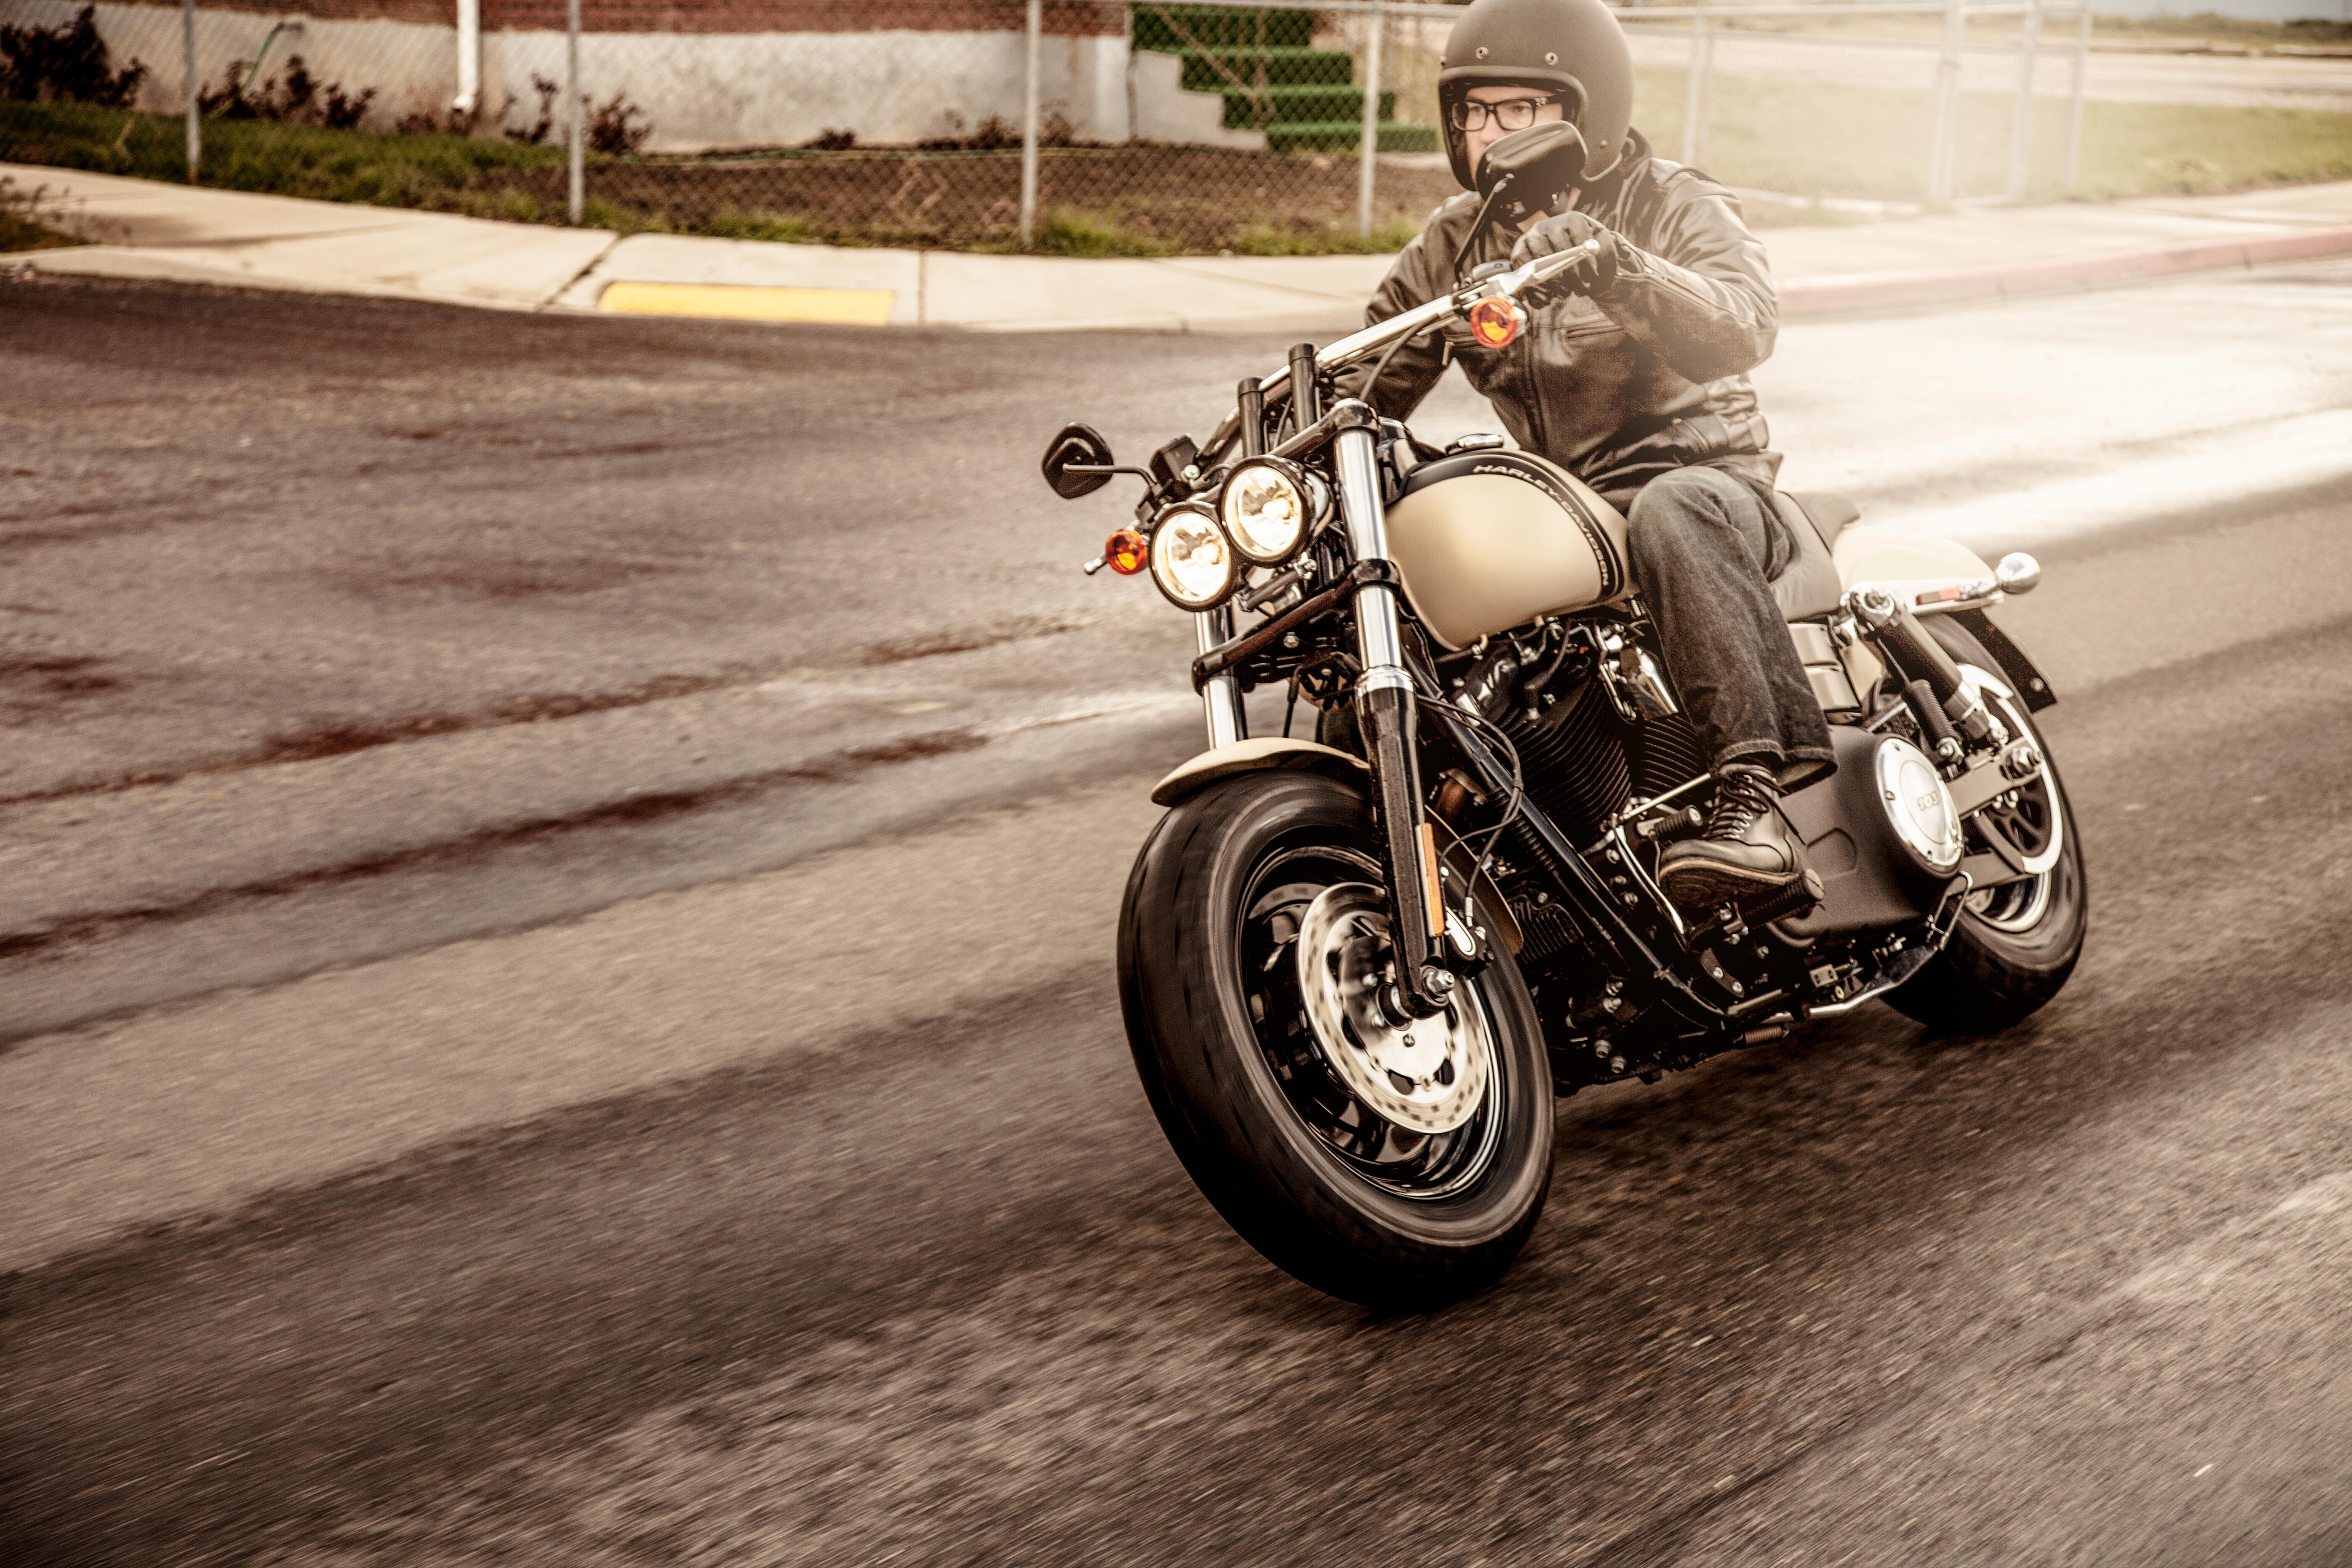
Knowing how to shift a motorcycle is one of the first skills a new rider should master. Most motorcycles, and all current Harley-Davidson® models, have a manual transmission. The rider should shift the gears up and down as the motorcycle accelerates and slows down, matching the motorcycle’s speed to the best gear. This requires some coordination of the gear shift control, the clutch lever, and the twist-grip throttle. Getting the hang of how to shift a motorcycle can take some practice for new riders, especially those that have never driven an automobile with a manual transmission. With a little experience and practice, motorcycle shifting can become second nature. Here are some tips for smooth motorcycle shifting.
BASIC CONTROLS USED WHEN SHIFTING GEARS
The controls on modern motorcycles are standardized. Here are the functions of some key motorcycle controls you should know before learning how to shift gears on a motorcycle.
Throttle is controlled by the twist grip on the right handlebar. The throttle controls the power of the motorcycle engine.
Clutch is actuated by the lever on the left-hand control. The clutch connects the engine to the transmission. When the lever is pulled toward the hand grip, the clutch is disengaged, and the engine and transmission are disconnected so no power is reaching the rear wheel. Releasing the clutch lever engages the clutch and sends power to the rear wheel.
Shift Lever is located forward of the left foot peg. Shifting is sequential, meaning that after you use the shift lever to shift up or down a gear, the lever returns to center and is ready to shift to the next gear.
Front Brake is controlled by the lever in front of the right-hand grip.
Rear Brake is controlled by the pedal in front of the right foot peg or floorboards.
HOW TO SHIFT GEARS ON A MOTORCYCLE
Now that you know the basic controls, we can get to shifting gears. New riders should start learning how to shift their motorcycle by getting a feel for clutch engagement.
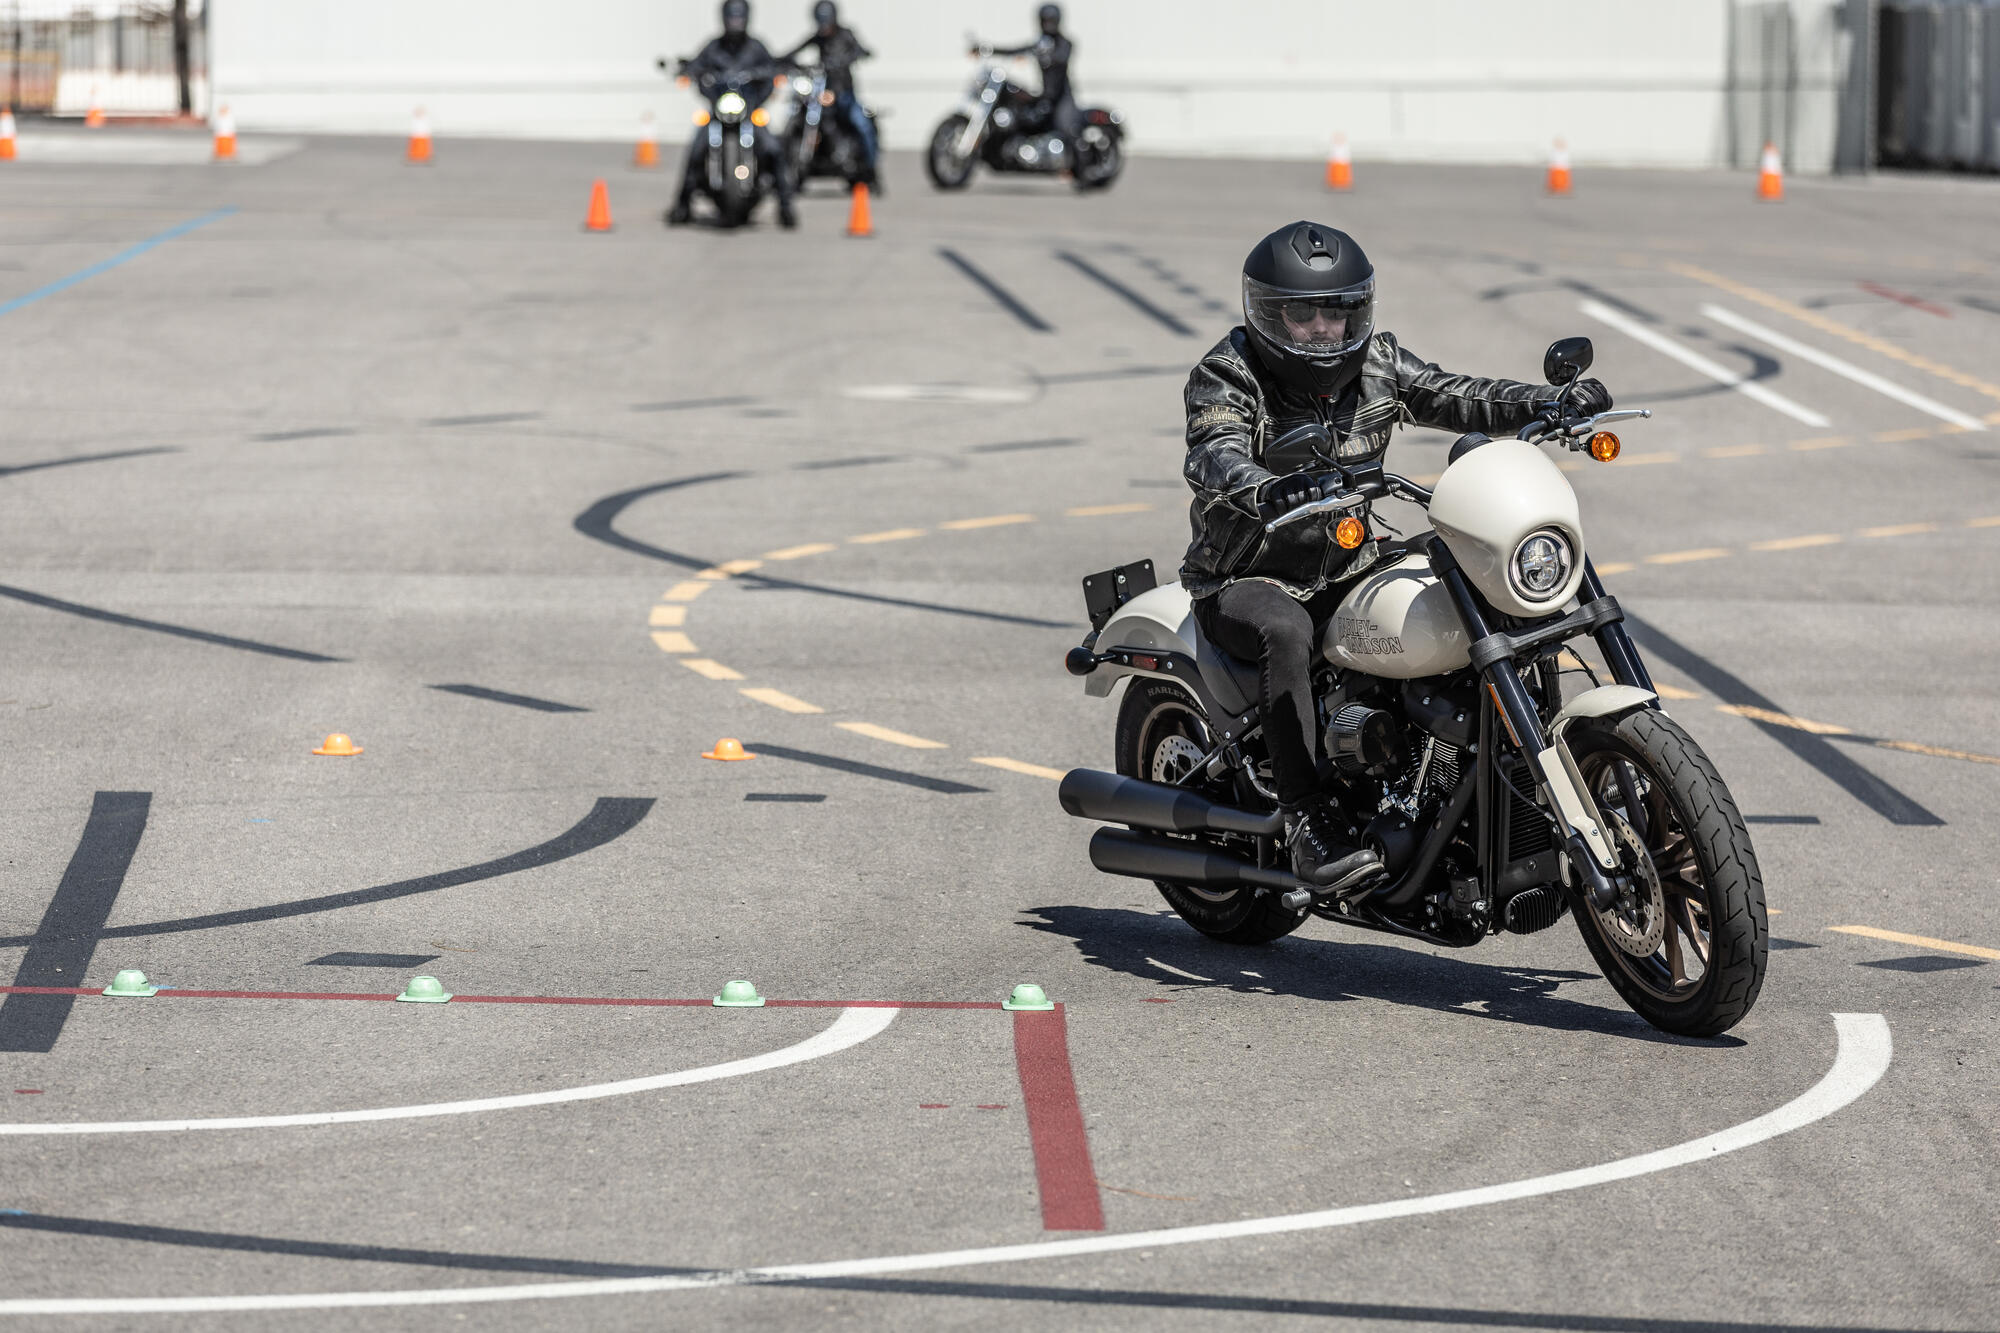
If you’re more of a visual learner, you can watch this short video produced by the Harley-Davidson® Riding Academy for a demonstration of motorcycle shifting basics.
STEP 1 – START THE ENGINE
Begin by starting the motorcycle engine. The transmission should always be in NEUTRAL when the engine is started. There will be an indicator light in the instrument display to let you know that the motorcycle is in NEUTRAL when you turn on the key.
STEP 2 – SHIFT INTO FIRST GEAR
With the engine started in NEUTRAL pull in the clutch lever and use your left foot to push down on the shift lever. This will engage first gear. You should hear or even feel first gear engage in the transmission.
STEP 3 – FEEL THE FRICTION ZONE
Now apply a little throttle as you very slowly release the clutch lever until you feel the clutch begin to engage. This is called the friction zone. The motorcycle will start to roll forward. Pull the clutch lever back in to disengage the clutch. Now you should be able to roll the motorcycle backward with your feet. Try this a few times to get a feel for how far the clutch lever travels before the clutch begins to engage. Every motorcycle is just a little different in this regard.
HOW TO GET YOUR MOTORCYCLE MOVING
Now that you've shifted into first gear, let’s start to ride in first gear.
STEP 1 – ENGAGE THE CLUTCH
This time as the clutch begins to engage gently add more throttle and the motorcycle will begin to move forward.
STEP 2 – ROLL ON THE THROTTLE
Release the clutch fully and roll on the throttle and begin to accelerate. You are on your way!
Note: If you let the clutch out too quickly, or don’t apply enough throttle, you might kill the engine. If that happens come to a stop, shift the lever up back to NEUTRAL, re-start the motorcycle, and try it again. The trick is to release the clutch slowly but smoothly as you roll on the throttle.
HOW TO UPSHIFT ON A MOTORCYCLE
First gear has you started. As you pick up speed, you’ll hear the engine revs increase. It’s time to shift up to the next gear. When the motorcycle is moving, it’s pretty easy to change gears.
STEP 1 – THROTTLE OFF, CLUTCH IN
Roll the throttle closed with your right hand and pull in the clutch lever.
STEP 2 – UPSHIFT TO SECOND GEAR
With the toe of your left foot, lift up firmly on the shift lever. You’ll hear the transmission click into the next gear.
STEP 3 – CLUTCH OUT, THROTTLE ON
Then smoothly release the clutch and advance the throttle with your right hand. Now you’re riding along in second gear.
STEP 4 – KEEP GOING!
Use the same process to shift to higher gears as you pick up more speed. Most motorcycles have 5 or 6 gears. As you ride around town, you’ll usually want to use gears 1 through 4. The higher gears are often the best for highway speeds.
HOW TO DOWNSHIFT ON A MOTORCYCLE
When it’s time to slow the motorcycle down, you’ll need to downshift your motorcycle. When you feel the engine start to lug a little, that’s your signal.
STEP 1 – THROTTLE OFF, CLUTCH IN
Roll off the throttle and pull in the clutch lever
STEP 2 – DOWNSHIFT A GEAR
This time use your foot to push the shift lever down firmly and smoothly. You’ll hear the transmission shift to the next lower gear.
STEP 3 – CLUTCH OUT
Let the clutch out smoothly. With practice you’ll learn to match engine speed to the lower gear.
Ready to learn more? Harley-Davidson Riding Academy courses are designed for riders of all skill levels, from beginner to advanced. Learn more about Harley-Davidson® Riding Academy or sign up for a riding class today.
EXPLORE THE LATEST MOTORCYCLES, PARTS & APPAREL
MOTORCYCLES
Embrace the spirit of the open road and get ready to ride with Harley-Davidson.

GEAR & APPAREL
Show the world who you ride with. Get all your H-D riding and casual gear here.

PARTS & ACCESSORIES
Throw it into high gear. Now is the perfect time to revamp your ride.
HARLEY-DAVIDSON® RIDING ACADEMY | Check out all the instructional opportunities offered by Harley-Davidson.