HOW-TO GUIDES
How to Start a Motorcycle: A Precise Pre-Ride Ritual
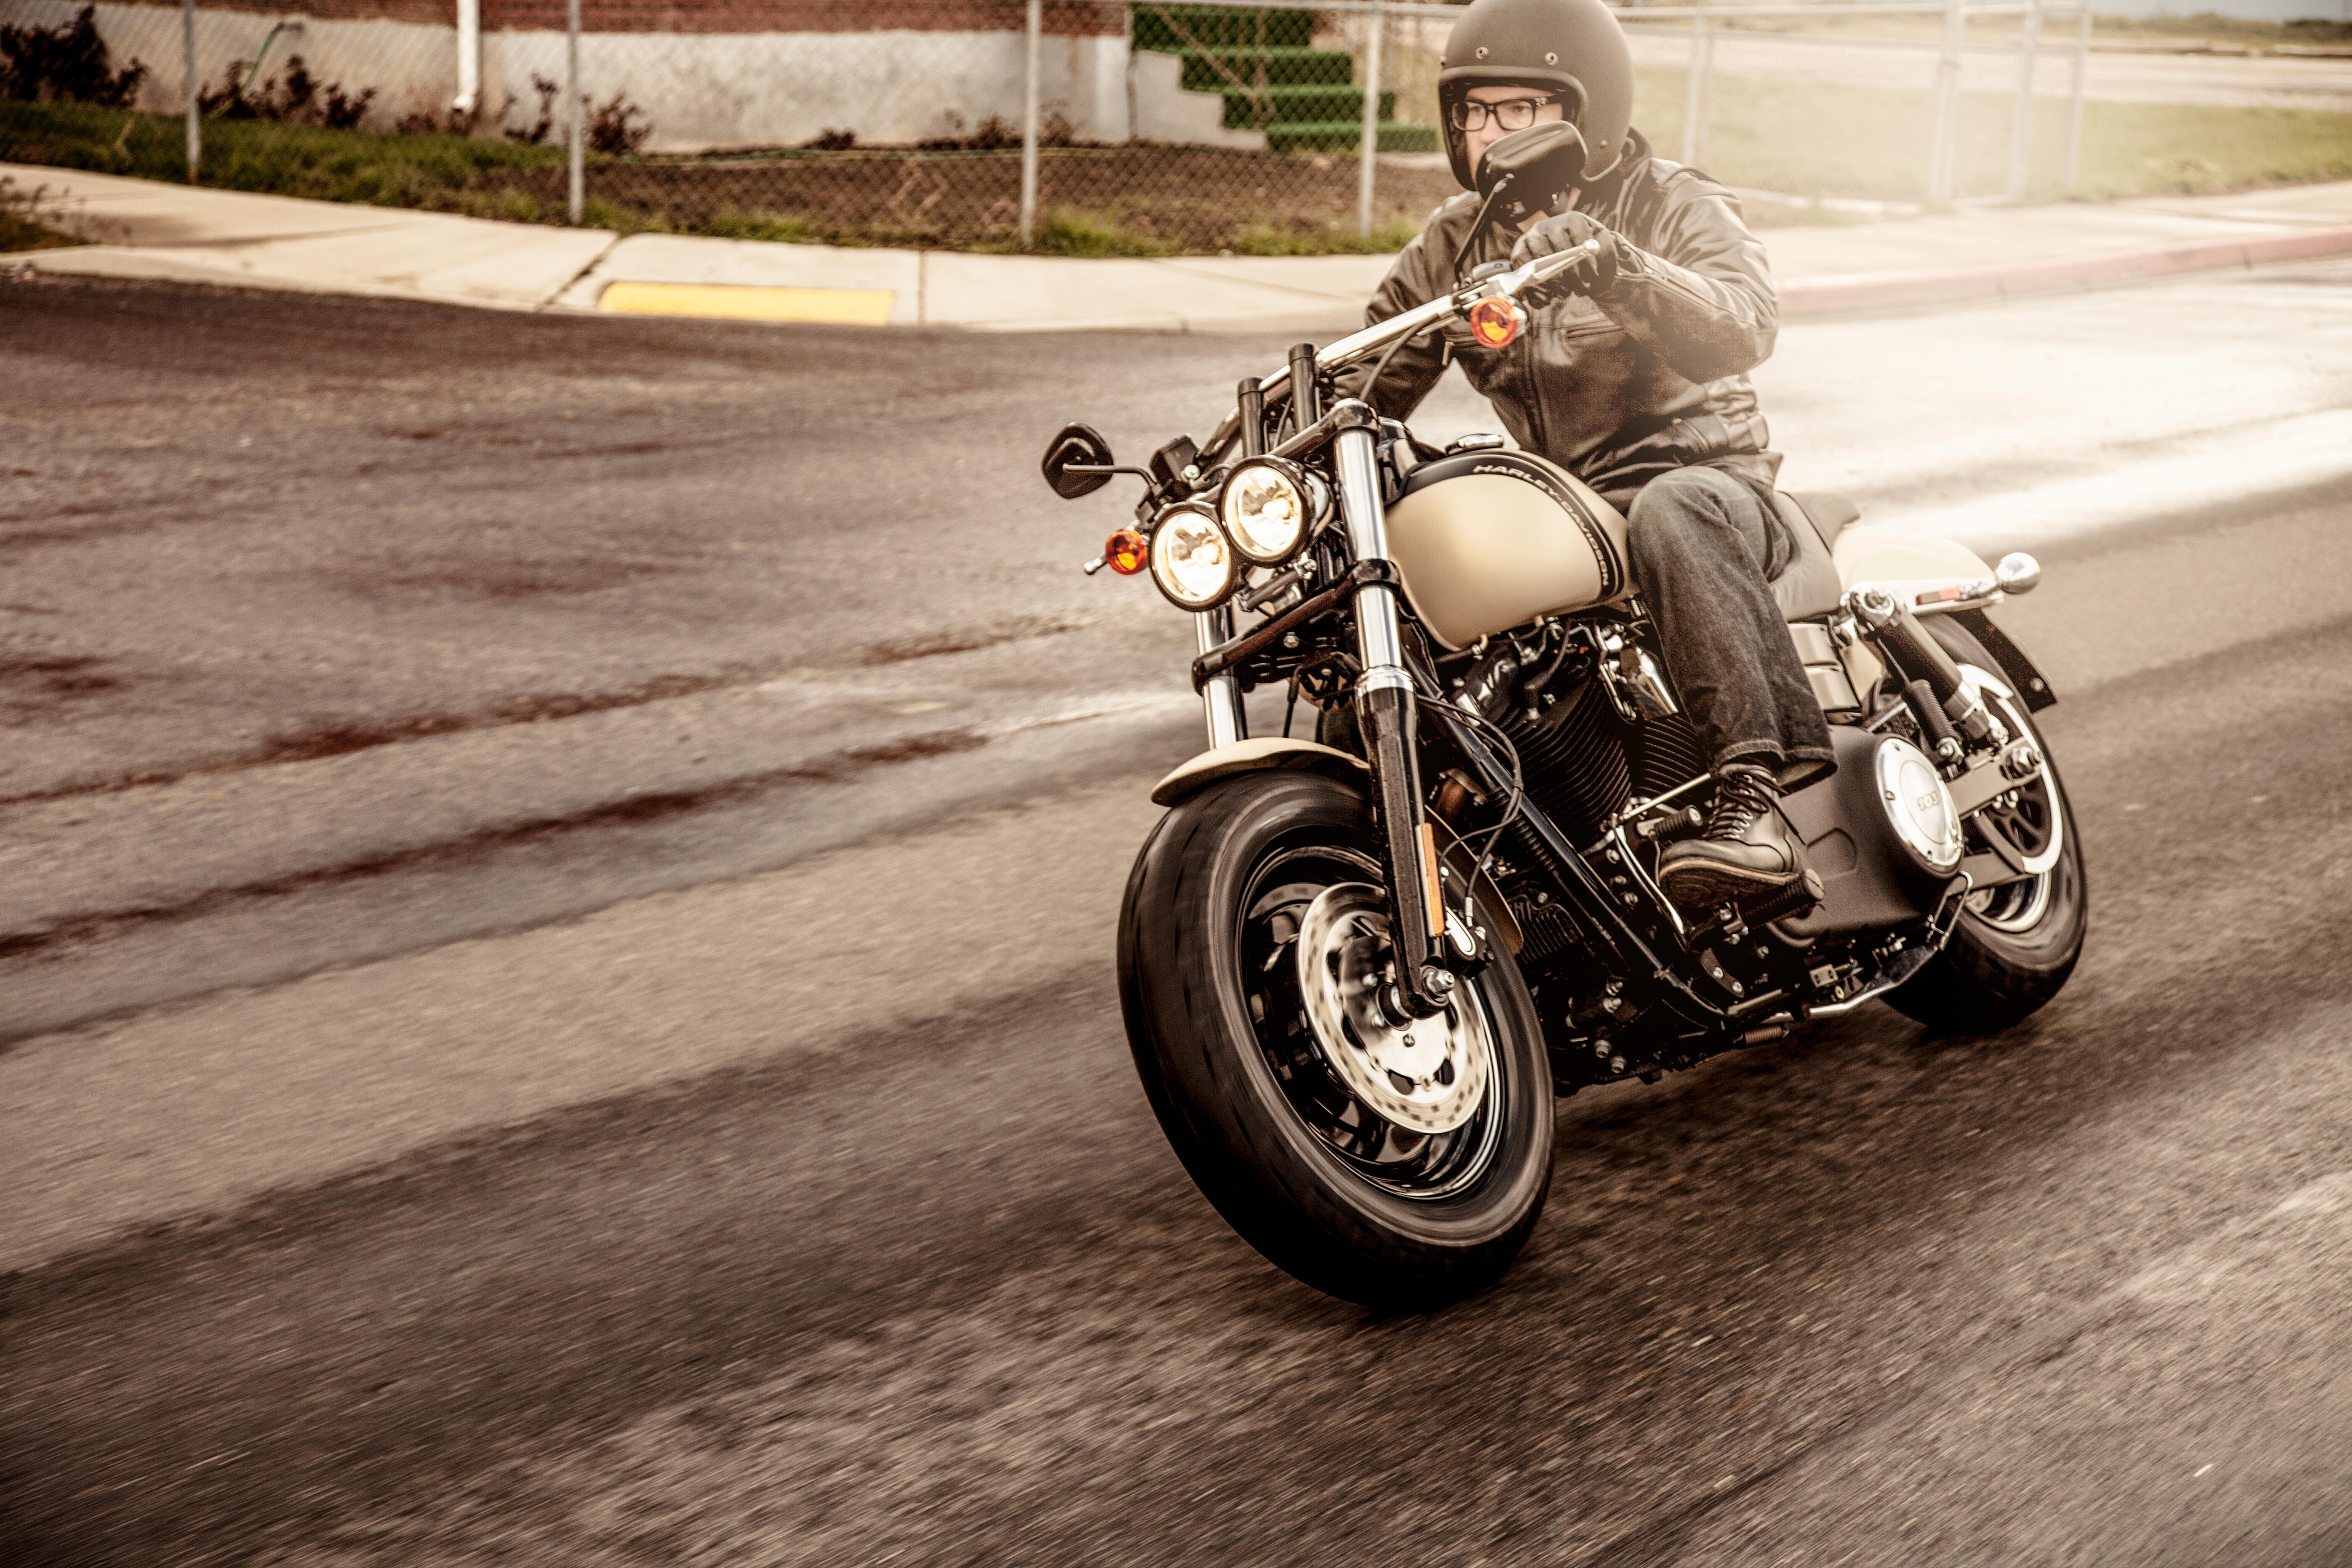
Revving up your Harley-Davidson® motorcycle and hitting the open road – that's what it's all about, right? But before you twist the throttle, taking a few minutes for a quick pre-ride check can save you headaches (and maybe even some wrench time) down the line.
This guide, with steps and tips straight from the pros at the Harley-Davidson® Riding Academy, will show you the essential steps to get your ride ready to roll and help ensure your first miles are smooth and safe.
HOW TO TURN ON A MOTORCYCLE
Start your ride the right way every time with these simple, repeatable steps to turning on your motorcycle.
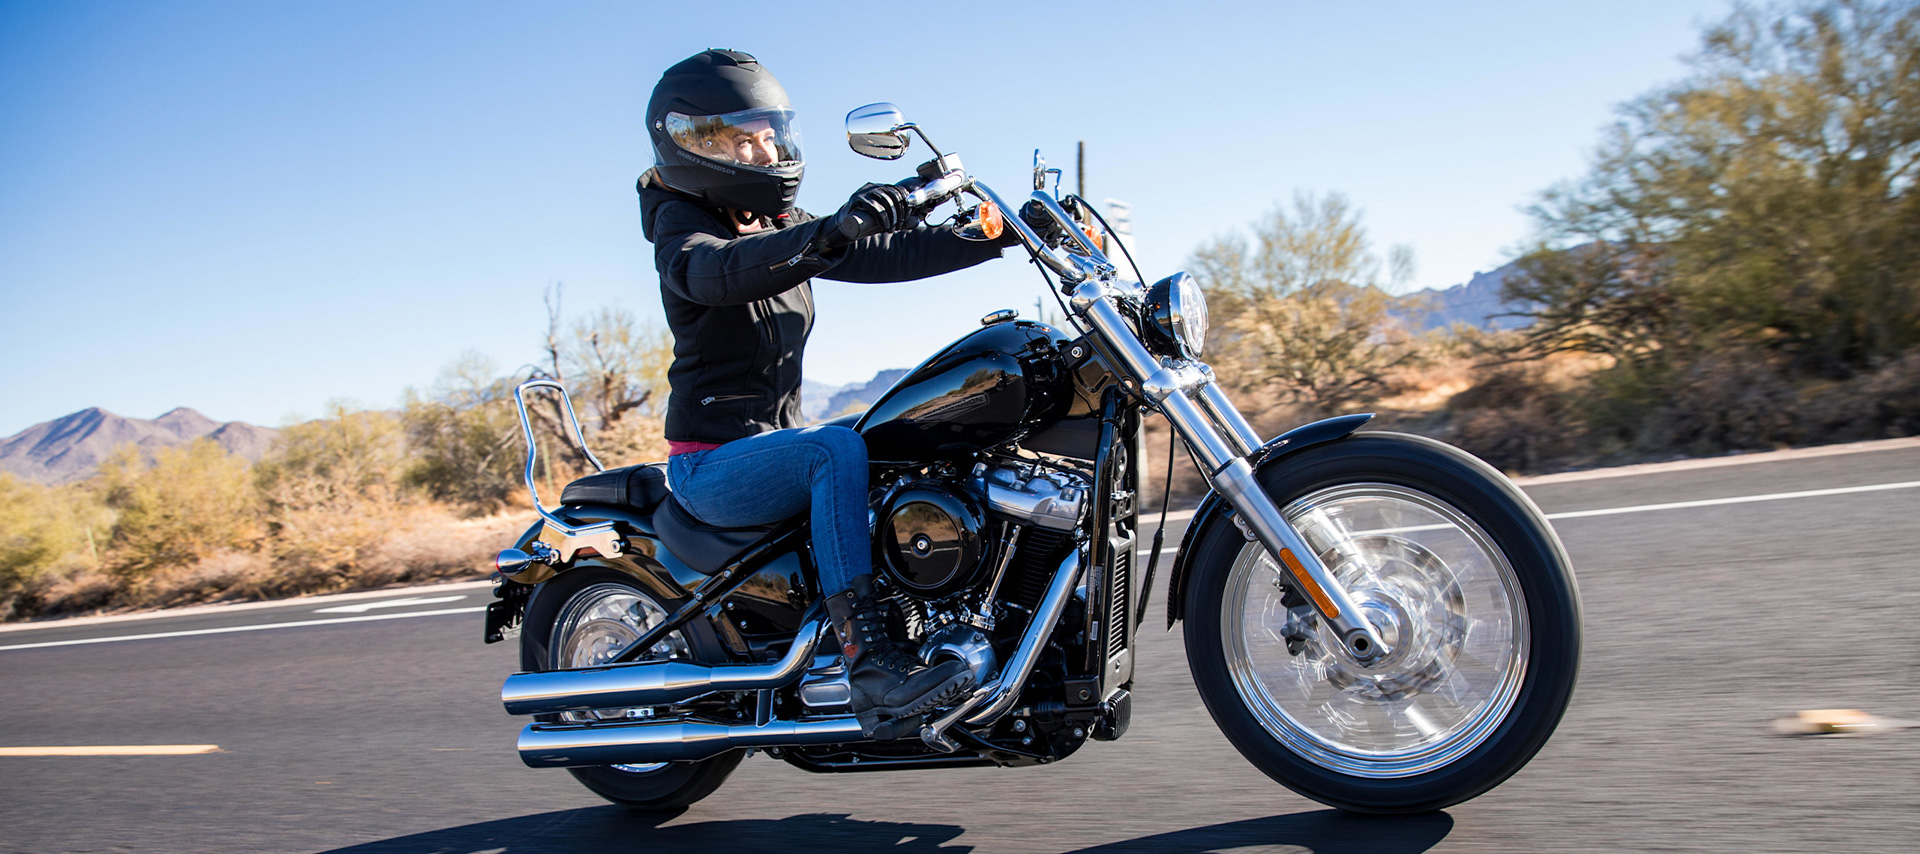
Protection First: Never underestimate the importance of your motorcycle helmet, gloves, and other appropriate protective gear like eyewear, riding boots and motorcycle gloves. Get these on and properly fitted before getting on your motorcycle. Not only is it always easier to do first, but this initial step in the pre-ride ritual also helps you get mentally prepared for the adrenaline-fueled adventure (or regular morning commute) ahead.
Unlock Your Motorcycle: Disengage your fork lock—and any other locks—before you mount your motorcycle.
Climb on: Hop on your motorcycle—but not without engaging the front brake as you do so. This will help keep your motorcycle stable as you get on.
Turn on the Fuel and Choke (Carbureted Motorcycles Only): For riders sporting a carbureted, non-fuel injected motorcycle, you will need to turn on the fuel and choke before starting your motorcycle. If your motorcycle is a fuel-injected model, the technology will take care of this for you. Learn more about motorcycle carburetors and fuel injection.
Upright the Motorcycle: Take the motorcycle off of the kickstand. To make it easier to do so, straighten out your front wheel first. Pro tip for smaller riders, turning the handlebars all the way to the right can dramatically reduce the lift effort to raise the motorcycle off the side stand.
Key on the Motorcycle: Turn on the motorcycle ignition switch to the “on” position.
Get Ready to Run: Prepare your motorcycle’s electrical system for engine ignition by turning the Run-Stop switch to the “Run” position.
Shift to Neutral: Navigate to the neutral gear, typically nestled between first and second, by engaging the clutch and shifting gears. A green light or indicator on the motorcycle's instrument cluster serves as your guiding star here, letting you know you’re in neutral.
Clutch Lever Disengagement: Fully depress the clutch lever on the left handlebar. This effectively isolates the engine from the transmission, enabling a smooth and controlled startup.
Time for Ignition: With the clutch lever firmly held to the handlebar grip, press and hold the starter button on the right handlebar for a few crucial seconds. Allow the engine to spring to life before releasing the button. With the engine ready and revving, you’re ready to shift into first and take to the open road.
It's recommended to read your Owner’s Manual to become familiar with your motorcycle and to practice how to turn on a motorcycle in a controlled environment until the process becomes instinctive. Before you know it, you won’t have to think twice before you’re already out enjoying all that life on the road has to offer.
To make the most out of all those moments out there on your motorcycle, there is a wide range of skills, techniques, and scenarios to master. Harness the full power of your motorcycle and enhance your on-the-road abilities with the help of the Harley-Davidson® Riding Academy.
From learning how to start a Harley to learning to ride a motorcycle, explore a variety of classes and training designed for riders of all skill levels, from beginner to advanced, and sign up for a course that suits your needs today.

EXPLORE THE LATEST MOTORCYCLES, PARTS & APPAREL
MOTORCYCLES
Embrace the spirit of the open road and get ready to ride with Harley-Davidson.

GEAR & APPAREL
Show the world who you ride with. Get all your H-D riding and casual gear here.

PARTS & ACCESSORIES
Throw it into high gear. Now is the perfect time to revamp your ride.
HARLEY-DAVIDSON® RIDING ACADEMY | Check out all the instructional opportunities offered by Harley-Davidson.